

Brooke and Meg went to Girls Weekend at the Lake, as usually happens this time of year, leaving me all by my lonesome with Calvin. Thankfully, my wonderful parents were thinking of my plight and Mom watched Calvin while Dad and I checked out the Missouri Beer Festival. This event has been held for a few years now, switching venues once or twice as it has grown. The Holiday Inn Expo Center is among the largest available in Columbia, as other options on the University’s campus, wouldn’t allow the sale of alcohol.
Overall, for $25, we were pretty impressed with the selection of breweries and beers. The Festival opens at 1:00 pm (unless you lay $25 more for a VIP pass) and continues until 5:00 pm, yielding plenty of time to make your way around the Festival floor, trying the wares from the available breweries. Though their website has mostly comprehensive list of the breweries that were present, there were others like Civil Life, Stone and Abita that were also featured.
As part of the deal, you were given a tasting glass, where each brewery would pour somewhere between 2 and 3 oz of beer for you to try. Though this doesn’t sound like much, it certainly adds up over a 4 hour period. They also had food available for additional cash, and believe you me, that BBQ smelled pretty great. They also allowed voting for your favorite brew (apparently Rock Bridge won for their Option #2 beer), though the organizers took the ballots at 3:45 without announcing that they were doing so, and we weren’t quite ready to vote yet, so I guess we didn’t exercise our constitutional rights on this one…
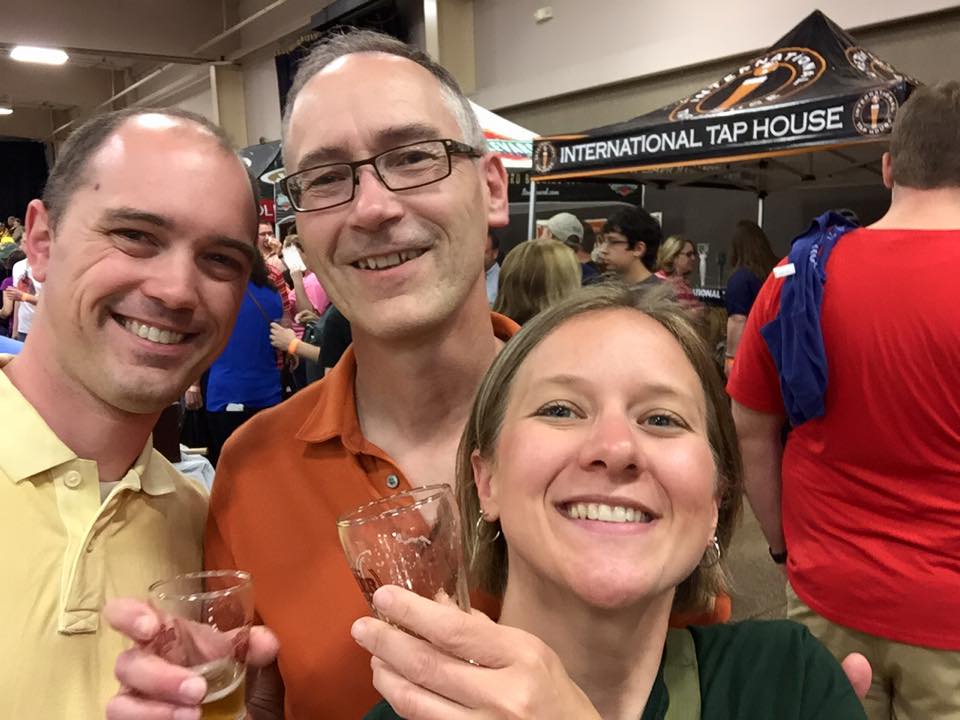
Me, Dad and cousin Laura
The main thing I’d like to see corrected for next year’s event hinges upon the beer list. When we’ve attended Schlafly’s events in years past, they provide you with a list of the beers and descriptions for each, thus allowing you to cross them off as you move through the stations. It gives you a good sense of how many you had and which ones you liked. For this event, you were provided with a list of breweries (and their locations on the Festival floor), but no list of beers. Granted, you could always write that down, but with the complexity and length of some beer names, it’s not ideal. I’m not sure how they could easily fix this, as some breweries won’t decide which beer to bring until the last minute, but surely there’s something they could do. An 8×10 sheet of paper with all the beers listed, including style and alcohol content, would be just fine. It would also allow me to seek out the beers I liked far more easily, rather than requiring me to try and remember (during an afternoon of heavy drinking…) which ones were awesome and which ones were just so-so.
Overall, we had a pretty good time. We saw some familiar faces (Dad saw half of his office there…which was kinda crazy…), got to try some great beers, and had a pleasant time with a bunch of people we didn’t know. I suspect we’ll be back next year, so long as our babysitter’s available. 🙂


